What do you think? I was inspired by the artwork using the same dies from Spellbinders® 2015 Winter Catalog...theirs is more elegant, mine is more girly? LOL!! Let me show you how I created this.
Build the Crown Base:
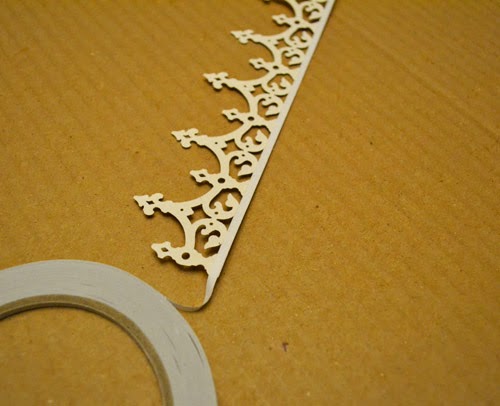
First, cut/emboss Imperial Border Die three times with Gold Textured Cardstock, using the Artisan X-Plorer™ Machine. Adhere the ends of three die cuts using DODZ™ Small to form a ring. Set aside.Cut/emboss Petite Monarch Die six times with Gold Mirror Cardstock. Adhere the ends of three die cuts using DODZ™ Small to form a ring. Set aside the other three die cuts.
Using Home & Hobby by 3L® Premium Double-Sided Tape ⅛" (coming soon!), adhere the Petite Monarch ring on top of the Imperial Border ring to create a two-tier crown base.
Decorate the Bottom Crown Base:
Fold in half the ½" width white organza ribbon (I used about 18" in length) and thread through the bottom base of the crown. Then I threaded 1/4" width Lavender ribbon on top of the organza ribbon. Tie ends. Add medium purple rhinestones on each of the embossed circle designs.Decorate the Top Crown Base:
Behind the high peak of the crown, I adhered a leaf trinket pin, using the DODZ™ Small on top and DODZ™ Medium in middle. Cover the top circle opening of the high peak with a large purple rhinestone (see image). Repeat until all are decorated. Using gold glitter paste, rub over white flower and let dry. Adhere it with DODZ™ 3D to cover the pin in opening at bottom. (see image). Repeat until all are decorated. Add clear rhinestones to the smaller peak crown design. Repeat until all are decorated. Cover the back side of the three Petite Monarch die cuts with Adhesive Sheets - 6 x 12" and place on the inside of the crown. This will finish the crown, making it look like metal verses paper.Embellishment:
Add bow and ribbon tails to back and secure with DODZ™ 3D. Trim any excess. Add beads to ends of ribbon tails. Add purple rhinestones to ½" button and secure to the center of bow with DODZ™ 3D.And there you have it! Ready to wear for a sweet 16 birthday girl, a bride-to-be or just because! LOL!
Supplies:
Specialty Papers: Michaels Stores Recollections (Gold Mirror Cardstock and Gold Textured Cardstock)
Dies: Spellbinders® Creative Arts (Petite Monarch, Imperial Border and Artisan X-Plorer Machine)
Rhinestones: KaiserCraft and Want2Scrap©
Ribbon: Offray
Pins: Maya Road
Flowers: Prima Marketing Inc.
Gold Glitter Paste: Bo Bunny Designs
Adhesive: Scrapbook Adhesives by 3L® (Home & Hobby by 3L® Premium Double-Sided Tape ⅛", Adhesive Sheets - 6 x 12", DODZ™ 3D, DODZ™ Medium and DODZ™ Small)
Other: Beads, Button
Thanks for stopping by! Fingers crossed for me :)
MargieH xo


2 comments:
Very pretty, Good Luck!
Way cool, Margie. I love it and thanks for the great tutorial!
Post a Comment