Hello all! Today I have a post on Faber-Castell® Design Memory Craft® Blog on their NEW Faber-Castell® Design Memory Craft® Vision Board Kit. Seeing these boards in artists' studio, I was thrilled that this was offered. Here's what I did with this unique kit...
The kit comes in a box like this with all the materials you'll need to be inspired by...
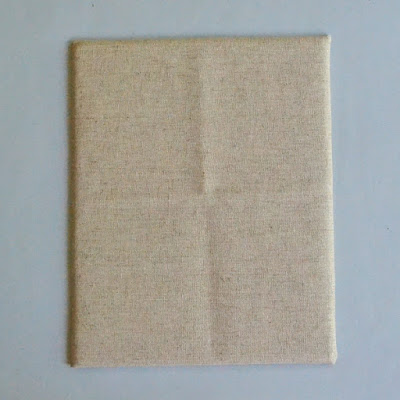
To create your board, you will the linen material, two layers of support (foam sheet - to pin into and poster board - to anchor) and double-sided tape. All included. I placed an 1.5 inch long piece in between the boards to secure. I didn't bother to iron the linen piece and it will eventually be smooth when assembled :)
Cut excess from all four corners for a clean corner (aka Miter Cut).
I personalizing the board by stenciling areas Texture Luxe™ Pearl and 102 Stencil Collection - Leaf Design.
While the stenciling is drying, I took the package of die cuts and started to group my thoughts...this may change in the process. LOVE that this is a continuous work in progress board :)
I used the GRIP Color Markers - great triangle shape with raised dots for a great hold while you're writing.
The colored die cuts in the kit are fun to embellish with Glass Bead Glitter Gel from my stash. They will dry clear and will be FULL of texture and sparkle = LOVE!
Pins are also included so that you can pin inspiring die cut words and tags on your vision board. I used one of the GRIP Color Markers to color the edge of my white "INSPIRE" die cut.
The white die cuts I used my Design Memory Craft® Double Scoop® Gelatos® in Bubble Gum and Raspberry to bring them to life. I blended the color with a Misting Bottle and watercolor brush.
Once everything was dried, I adhered most of the die cuts (some with 3D Foam Squares for dimension) and my Hawaii photo with Gel Medium which does many things such as extends color, seals projects, acts as a texture, etc.
For the finishing touch, I added on the enamel dots from the kit which also matches the GRIP Color Markers. How cool is that?!
Here's another look at my vision board...can't decide if I want to put it on an easel for desk top or in a frame for the wall...
Such a unique gift for someone to personalize and make it their own. Great for a teen, an artist or how about for that college student for their dorm/apt?! What would you add to YOUR VISION BOARD? Tell us by commenting below in the post. Would love to hear!
As always, thanks for stopping by!
MargieH
Supplies:
Design Memory Craft®: Vision Board Kit, Texture Luxe™ Pearl, 102 Stencil Collection, Glass Bead Glitter Gel, Misting Bottle, Design Memory Craft® Double Scoop® Gelatos® (Bubble Gum & Raspberry) and Gel Medium
Scrapbook Adhesives by 3L®: 3D Foam Squares - White, Regular


2 comments:
I love vision boards, esp after seeing the one on The Women with Meg Ryan. What a great idea.
I love what you did with your kit! :)
Post a Comment