Today I am creating a picture frame out of canvas panel, die cuts and our 3D Foam Wings. By adding your favorite picture secured with Creative Photo Corners Gold, you have an elegant gift to give!
Using two sets of 3D Foam Wings, I layered them and covered them with Pigment Powder Gold with my finger and brush for details.
Then add them on a intricate designed oval die cut, leaving enough room for the angel die cut in the center.
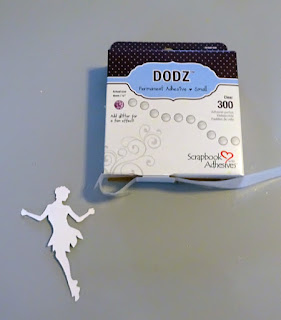
On the back of the gold metallic angel die cut, I placed Dodz™ Small on each shoulder and adhered onto the wings.
For the background, I die-cut a beautiful rectangular shape in white cardstock and applied it onto Adhesive Sheet 6 x 12" for a full coverage on the back. Then I adhered it to my black chalk paint canvas panel.
In the back of the canvas panel, I placed a pre-made easel piece. To make sure it would stick forever, I also applied our Home & Hobby Line Extreme Double -Sided Tape 1/4" Permanent! LOL!!
Last, I placed two small strips of Extreme Double -Sided Tape 1/8" Permanent on the back left side of the angel die cut. I did this so that you can place a picture underneath the die cut for placement and secure with four Creative Photo Corners Gold.
Here's a close up and another look at the finished frame...
Thanks for stopping by!
Margie Higuchi
Supplies:
• Scrapbook Adhesives by 3L®: 3D Foam Wings, Creative Photo Corners Gold, Dodz™ Small and Adhesive Sheets - 6 x 12"
• Donna Salazar with Scrapbook Adhesives by 3L®: Pigment Powder Gold
• Home & Hobby by Scrapbook Adhesives by 3L®: Extreme Double -Sided Tape 1/4" Permanent and Extreme Double -Sided Tape 1/8" Permanent
• Dies: Spellbinders® Creative Arts (Fairy Cierra, Reflection, Cascading Grace sets and Grand Calibur® Machine)
• Silver, Gold Mirror and White Cardstock: WorldWin Papers
• Black Chalk Paint and Paint Brush: Faber-Castell® Design Memory Craft®
• Easel Piece; Canvas Panel


No comments:
Post a Comment